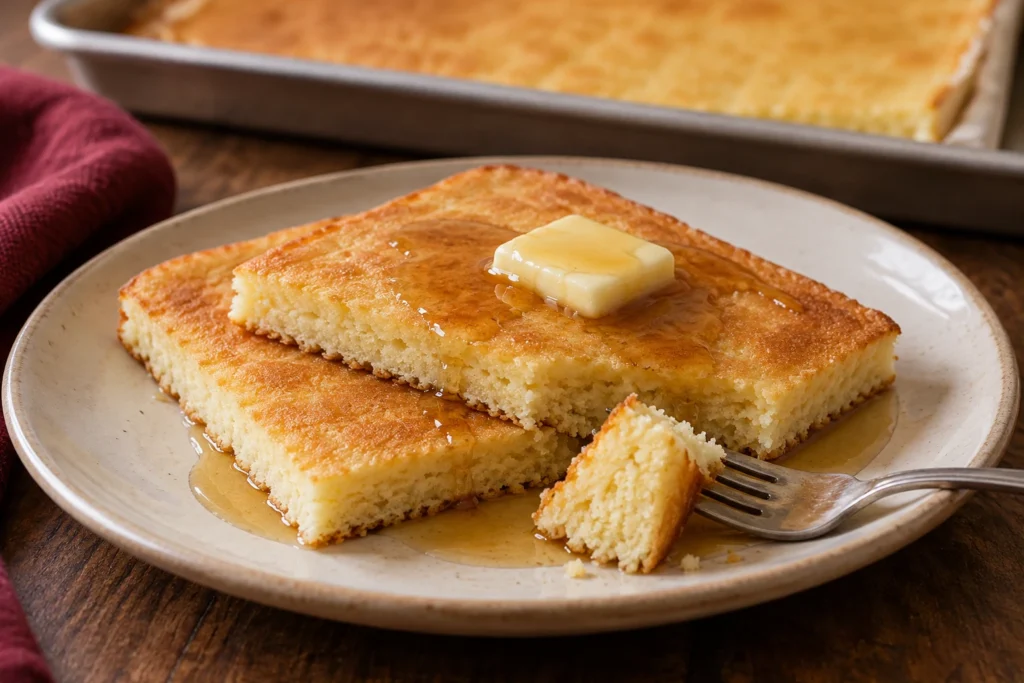
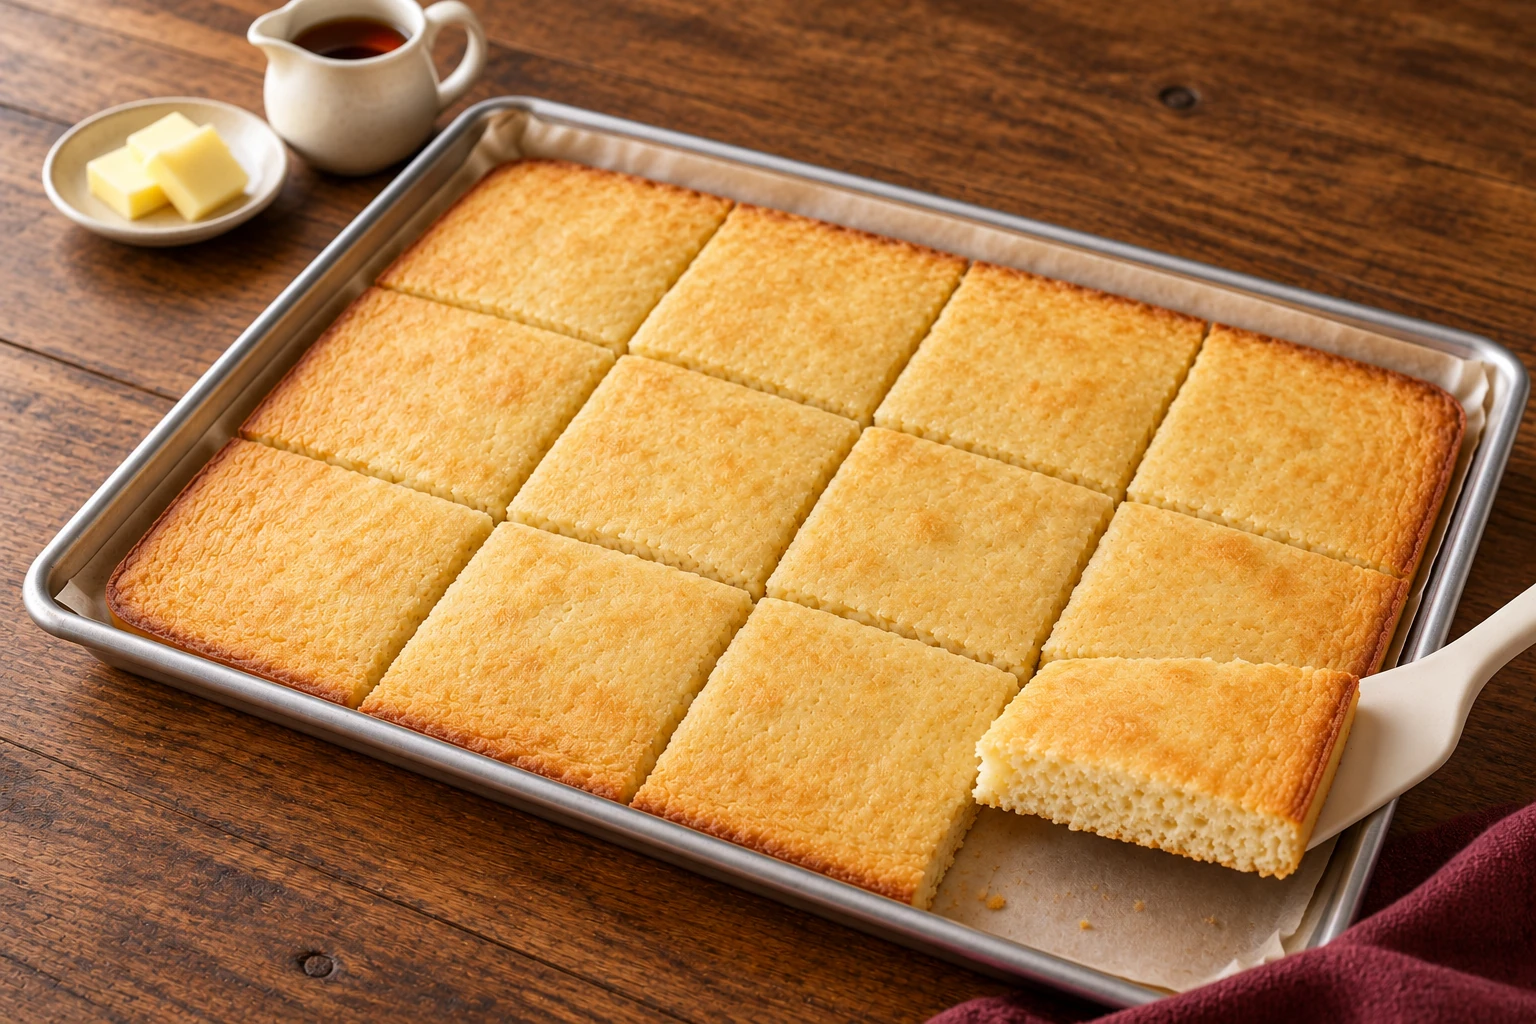

Sheet pan pancakes without buttermilk turn a familiar breakfast into one easy oven-baked batch. Regular milk, melted butter, and vanilla give these pancake squares a mild, buttery flavor, while baking powder provides lift without adding vinegar or lemon juice. There is no flipping, and everyone’s portion cooks together. Serve them with maple syrup and fruit for a relaxed weekend breakfast, or save a few pieces for another morning. The key is gentle mixing and removing the pan as soon as the center is set.
- Total Time
- ~35 minIncludes cooling
- Difficulty
- EasyNo flipping
- Servings
- 62 pieces each
Total Time: Approximately 35 minutes
Difficulty: Easy
Servings: 6 — makes 12 pieces, 2 per serving
Timing includes 15 minutes of preparation and preheating, approximately 15 minutes of baking, and 5 minutes of cooling. This formulation has not been kitchen-tested; timing and serving size are estimates.
Ingredients You’ll Need
For the Pancakes
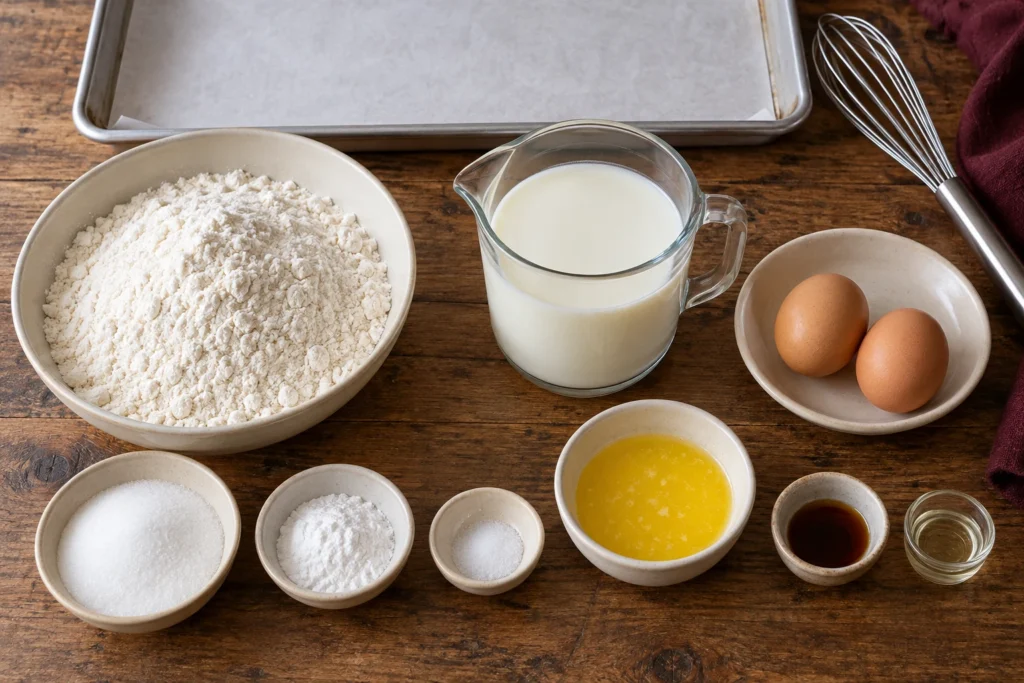
- 3 cups (360 g) all-purpose flour, spooned and leveled
- ¼ cup (50 g) granulated sugar
- 1 tbsp plus 1 tsp (16 g) double-acting baking powder
- ¾ tsp (approximately 4.5 g) fine table salt
- 2 cups (480 ml) whole milk
- 2 large eggs, approximately 100 g without shells
- 6 tbsp (85 g) unsalted butter, melted and cooled until lukewarm
- 2 tsp (10 ml) vanilla extract
For the Pan and Serving
- 1 tsp (5 ml) neutral oil, for greasing
- Maple syrup, butter, or fresh berries, optional for serving
All-purpose flour is commonly called plain flour in the UK. Use baking powder, not baking soda: baking powder contains the acid components needed for leavening.
For consistency, weigh the flour. Volume measures here use approximately 240 ml per cup, 15 ml per tablespoon, and 5 ml per teaspoon. If using Australian tablespoons or 250 ml metric cups, follow the listed grams and milliliters instead.
How to Make Sheet Pan Pancakes Without Buttermilk
1. Prepare the Oven and Baking Sheet
Preheat a conventional oven to 425°F (220°C) with a rack in the middle.
Use a 13 × 18-inch (33 × 46 cm) rimmed metal half-sheet pan, with sides at least 1 inch (2.5 cm) high. Line the bottom with parchment rated for this temperature, trim loose overhang, and lightly oil the paper and exposed sides.
You will also need two bowls, a whisk, a flexible spatula, and a cooling rack.
2. Mix the Dry Ingredients
Whisk the flour, sugar, baking powder, and salt in the larger bowl. Break up any baking powder lumps so the leavening is evenly distributed.
Avoid packing flour into the measuring cup. Excess flour can make the baked pancake dry and dense.
3. Mix the Wet Ingredients
In the second bowl, whisk the milk, eggs, and vanilla until combined. Slowly whisk in the lukewarm melted butter.
The butter should be fluid but not hot. Small butter flecks are acceptable if the milk is cold; large hardened clumps will not distribute evenly.
4. Combine Gently
Pour the wet ingredients into the dry ingredients. Fold with a spatula until no dry flour pockets remain, scraping the bottom of the bowl.
The batter should be thick but pourable, with small lumps. Do not beat it smooth. If it holds like dough, recheck your flour measurement; only if needed, fold in 1–2 tbsp (15–30 ml) additional milk.
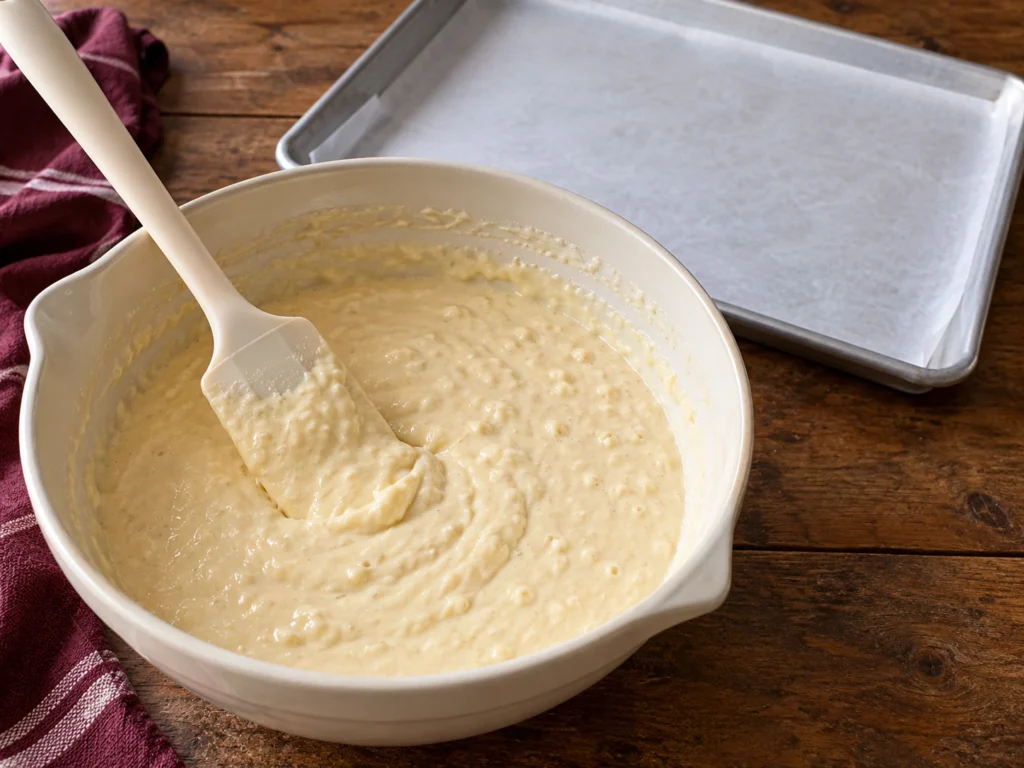
5. Spread and Bake
Immediately spread the batter evenly across the prepared pan, including the corners.
Bake for approximately 12–16 minutes, checking at 12 minutes. The center should look matte, spring back gently, and show no wet batter when tested with a toothpick.
The edges may turn lightly golden while the top remains pale. Do not extend baking solely to achieve a darker color.
6. Cool and Cut
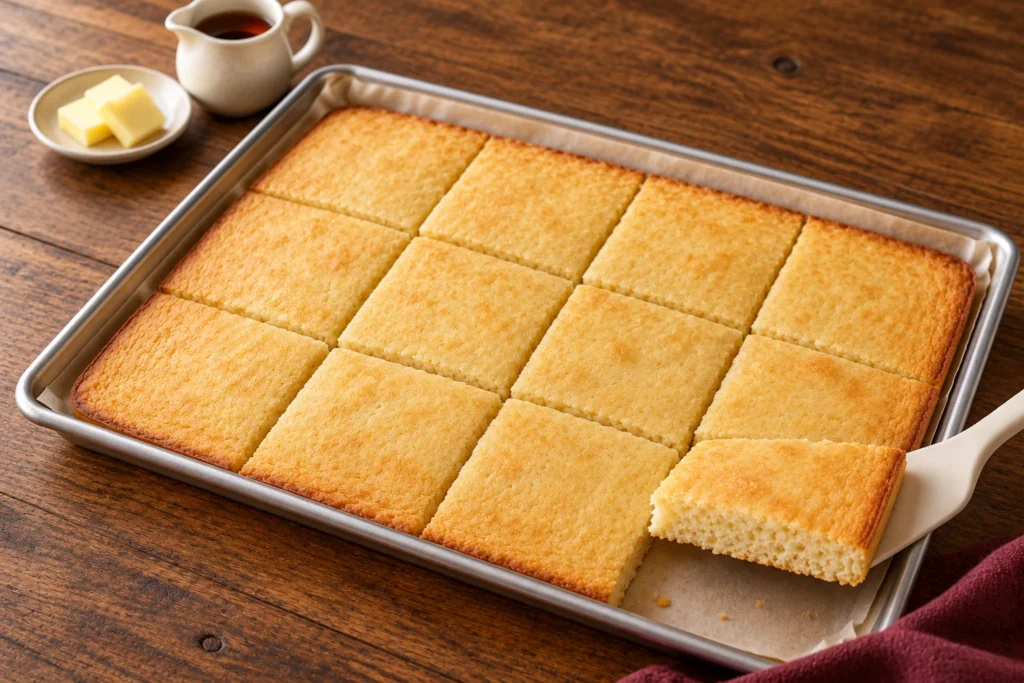
Rest the pan on a cooling rack for 5 minutes. Cut into 12 rectangular pieces, making three rows and four columns.
Serve two pieces per person, with toppings added individually. Use a pan-safe utensil to protect the baking surface.
Tips for the Best Results
- Use the specified pan size. A smaller pan makes a thicker pancake that needs different timing.
- Finish preheating before baking. Consistent starting heat helps the batter rise and set predictably.
- Stop mixing early. Small lumps are normal; vigorous mixing can create a tougher texture.
- Check the center first. Golden edges do not prove that the middle is fully baked.
Substitutions and Variations
Use 2% milk: Substitute the same volume for whole milk. The flavor may be slightly less rich.
Use salted butter: Reduce the added fine salt to ½ tsp (approximately 3 g). Butter brands differ in salt content.
Add blueberries: Scatter ½ cup (approximately 75 g) washed, thoroughly dried fresh blueberries over the batter. Check for wet batter around the fruit before removing the pan.
Add chocolate chips: Sprinkle ⅓ cup (approximately 55–60 g) over the surface for a sweeter variation.
These variations need separate testing. Almond flour and coconut flour are not direct replacements for the all-purpose flour.
How to Store and Reheat
Refrigerate leftovers in shallow, covered containers within 2 hours, or 1 hour if the surrounding temperature exceeds 90°F (32°C). Keep at 40°F (4°C) or below and use within 3–4 days.
For freezing, separate cooled pieces with parchment and seal in a freezer-safe container. Keep at 0°F (−18°C) or below. Aim to use within 1–2 months for texture quality; this is a suggested quality window, not a tested shelf life.
Reheat refrigerated pieces in a covered oven-safe dish at 325°F (165°C), checking after about 8 minutes. Alternatively, microwave beneath a microwave-safe cover in short intervals. Reheat to 165°F (74°C) internally, checking with a food thermometer.
Frequently Asked Questions
Do I need vinegar or lemon juice?
No. Double-acting baking powder supplies the leavening system, so regular milk works without being soured.
Can I prepare the batter the night before?
For a more predictable rise, prepare the dry mixture ahead and keep it covered. Measure the milk, eggs, and vanilla separately and refrigerate them. Add freshly melted, cooled butter and combine the mixtures shortly before baking.
Why is the top lighter than skillet pancakes?
Skillet pancakes brown through direct contact with a hot pan. This oven method produces a softer, paler top. Use the center’s texture and the toothpick check to judge doneness.
Can I use a fan oven?
Approximately 400°F (200°C) is a starting adjustment for fan-assisted heat. Check earlier and follow your oven manufacturer’s guidance. This adaptation needs testing; air-fryer temperatures and times are not interchangeable with this recipe.
Final Result
The finished pancake should have lightly golden edges, a pale golden top, and a soft interior that holds together when sliced. Expect a gently sweet, buttery flavor with a hint of vanilla. Serve the squares warm with a small pat of butter and maple syrup, keeping extra toppings on the side so the surface stays soft without becoming soggy.